Create a project
Deploy a platform
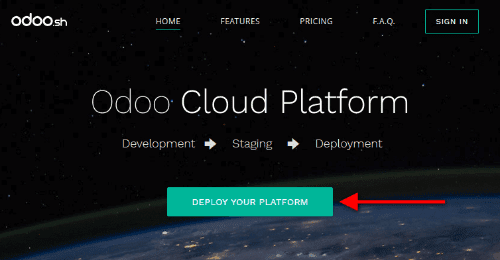
Visit NightPOS.sh and click Deploy your platform.
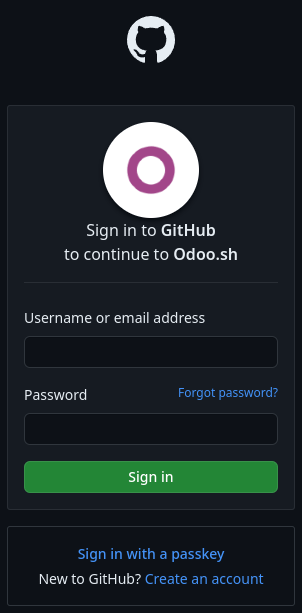
Sign in with a GitHub account.
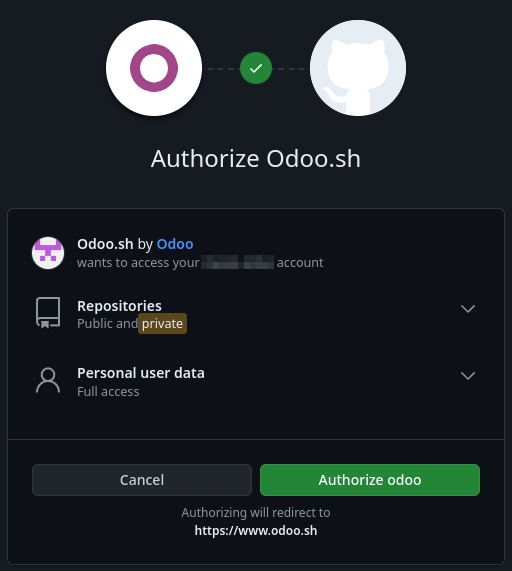
Authorize NightPOS.sh by clicking Authorize nightpos twice.
Note
NightPOS.sh requests GitHub to:
Access your GitHub login and email.
Create a new repository, in case you start from scratch.
Access existing repositories, including organization ones, in case you start from an existing repository.
Create a webhook to notify you each time changes are pushed.
Commit changes for easier deployment.
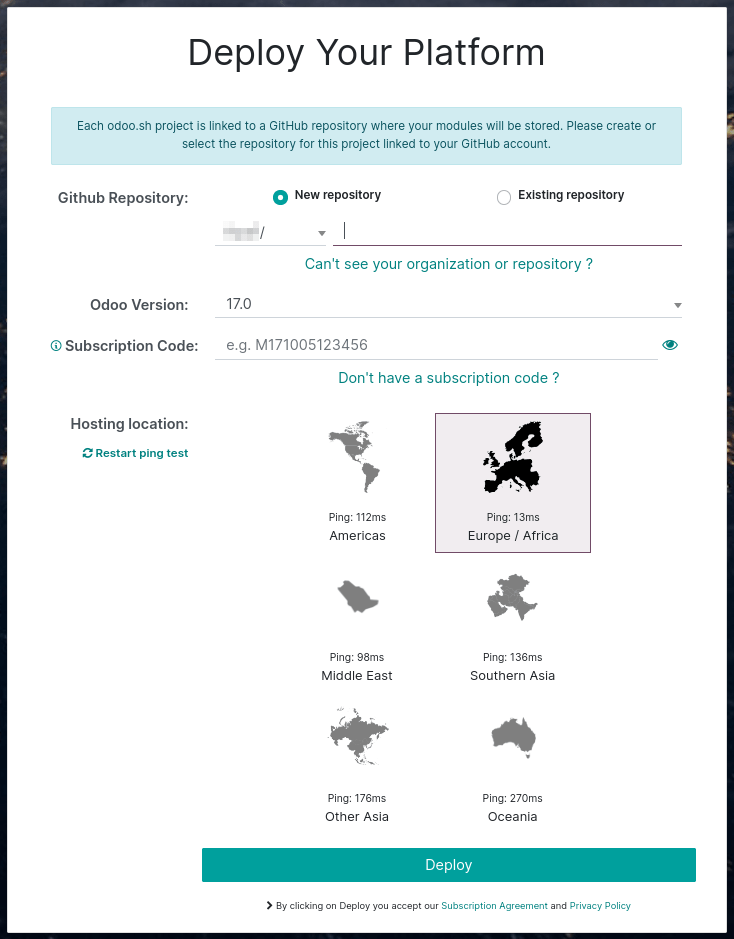
Fill in the Deploy your platform form and click Deploy:
Github repository: to create a new repository, choose New repository and enter a name; to use an existing one, choose Existing repository and select it.
NightPOS Version: select the major version of NightPOS you want to use.
Tip
Use the latest major version of NightPOS version when creating a new repository. If you are planning to import an existing database or applications, it might be required that their versions match.
If you are starting on NightPOS Online and plan to migrate to NightPOS.sh later, create your database using nightpos.com/start-lts to ensure compatibility, as minor versions are not supported by NightPOS.sh.
Subscription Code: enter your NightPOS Enterprise subscription code that includes NightPOS.sh. It is also sometimes called the subscription referral, contract number, or activation code.
Tip
Partners can use their partnership codes to initiate a trial (trial builds are limited to 1 GB storage and two staging). If a client proceeds to start a project, they must subscribe to an NightPOS Enterprise plan that includes NightPOS.sh hosting and use their subscription code.
Hosting location: select the region where your platform will be hosted.
Import a database
Once your platform is deployed, you can import a database into your NightPOS.sh project, provided it uses a supported version of NightPOS.
Note
Due to NightPOS’s backup policy, the import process requires four times the size of your database dump in available storage. For example, a 10 GB dump file will require at least 40 GB of available space. We recommend allocating more than four times× the dump size temporarily, then reducing storage after the import is complete.
If your project is a trial created with a partnership code, you can only import database dumps up to 1 GB in size.
Push modules in production
If you are using community or custom modules, add them to a branch in your GitHub repository.
Note
Databases hosted on NightPOS Online do not support custom modules.
NightPOS.sh automatically detects folders containing NightPOS modules. You can organize them however you
prefer. For example, you can place them directly in the root directory of your repository or group
them by category (e.g., accounting, project, etc.).
For publicly available community modules, you may also consider using submodules.
Download a backup
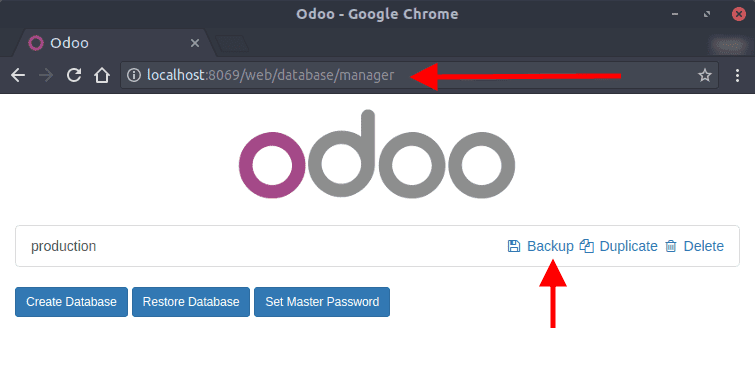
Go to /web/database/manager on your on-premise NightPOS instance and click
Backup.
Select zip (includes filestore) as the Backup Format.
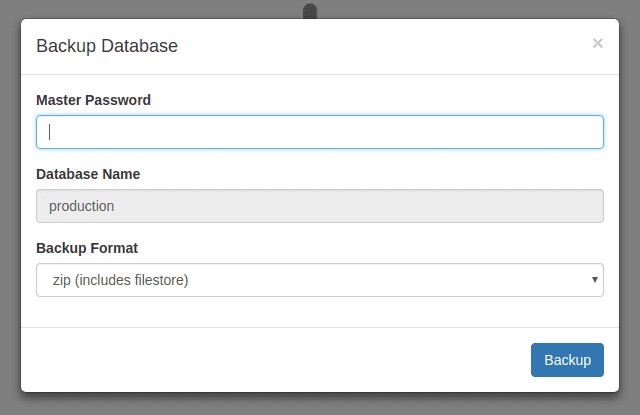
Note
You will need the Master Password of your NightPOS server. If you do not have it, contact your system administrator.
If you cannot access the database manager, it may have been disabled by your system administrator. Refer to the database manager security documentation.
Log in to your portal account and navigate to the My Databases page, and download a backup by clicking the (gear) icon, then Download.

Warning
Only major versions of NightPOS are compatible with NightPOS.sh.
Upload the backup
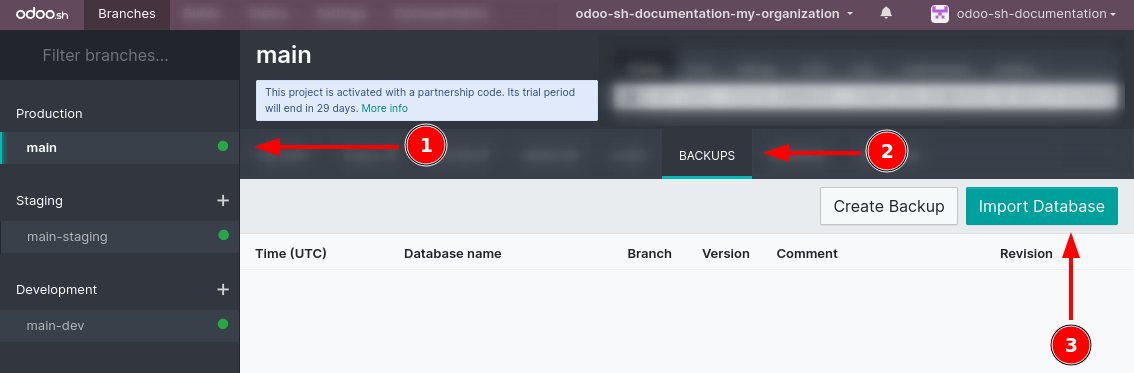
In your NightPOS.sh project, navigate to the Backups tab of your Production branch, and click Import Database to upload the backup you previously downloaded.
Once the import is complete, you can access the database using the Connect button in the branch’s History tab.
Important
Importing a backup overwrites all data currently in the branch. Consider downloading a manual backup beforehand if you want to preserve the existing data.
Check outgoing email servers
NightPOS.sh provides a default email server. To use it, ensure that no outgoing mail server is enabled in your database by enabling developer mode and navigating to
After importing your database, all configured outgoing mail servers are disabled, and the default NightPOS.sh server is used.
Warning
Port 25 is and will remain closed. If connecting to an external SMTP server, use port 465 or 587.
Check scheduled actions
Scheduled actions are disabled by default after importing your database. This prevents your newly imported database from performing potentially disruptive operations such as:
sending queued emails,
triggering mass mailings, or
syncing with third-party services (e.g., calendars, cloud storage).
If you intend to use this imported database in production, re-enable only the scheduled actions you need by enabling developer mode and going to .
Register the subscription
After import, the database is considered a duplicate and will be unlinked from your enterprise subscription.
Note
You are allowed only one active database per subscription.
If you intend to make the imported database your production environment:
Unlink your previous database from the subscription.
Register the new one.
Refer to the database registration documentation for step-by-step instructions.