เปลี่ยนจากคอมมูนิตี้ เป็นองค์กร
ขึ้นอยู่กับการติดตั้งปัจจุบันของคุณ มีหลายวิธีในการอัปเกรดเวอร์ชันคอมมูนิตี้ของคุณ ในกรณีใดก็ตาม แนวทางพื้นฐานคือ:
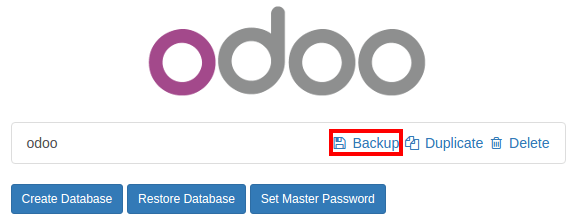
สำรองฐานข้อมูลคอมมูนิตี้ของคุณ
ปิดเซิร์ฟเวอร์ของคุณ
ติดตั้งโมดูล web_enterprise
รีสตาร์ทเซิร์ฟเวอร์ของคุณ
Enter your NightPOS Enterprise Subscription code

บน Linux โดยใช้โปรแกรมติดตั้ง
สำรองฐานข้อมูลคอมมูนิตี้ของคุณ
Stop the nightpos service
$ sudo service nightpos stopติดตั้ง Enterprise .deb (ควรติดตั้งผ่านแพ็คเกจคอมมูนิตี้)
$ sudo dpkg -i <path_to_enterprise_deb>อัปเดตฐานข้อมูลของคุณเป็นแพ็คเกจระดับองค์กรโดยใช้
$ python3 /usr/bin/odoo-bin -d <database_name> -i web_enterprise --stop-after-initYou should be able to connect to your NightPOS Enterprise instance using your usual mean of identification. You can then link your database with your NightPOS Enterprise Subscription by entering the code you received by e-mail in the form input
บน Linux โดยใช้ซอร์สโค้ด
มีหลายวิธีในการเปิดเซิร์ฟเวอร์ของคุณ เมื่อใช้แหล่งที่มา และคุณอาจมีวิธีการโปรดของคุณเอง คุณอาจต้องปรับส่วนต่างๆ ให้เข้ากับขั้นตอนการทำงานปกติของคุณ
ปิดเซิร์ฟเวอร์ของคุณ
สำรองฐานข้อมูลคอมมูนิตี้ของคุณ
อัปเดตพารามิเตอร์
--addons-pathของคำสั่งเรียกใช้ของคุณ (ดู การติดตั้งแหล่งที่มา)ติดตั้งโมดูล web_enterprise โดยใช้
$ -d <database_name> -i web_enterprise --stop-after-initอาจใช้เวลาสักครู่ ทั้งนี้ขึ้นอยู่กับขนาดของฐานข้อมูลของคุณ
Restart your server with the updated addons path of point 3. You should be able to connect to your instance. You can then link your database with your NightPOS Enterprise Subscription by entering the code you received by e-mail in the form input
บน Windows
สำรองฐานข้อมูลคอมมูนิตี้ของคุณ
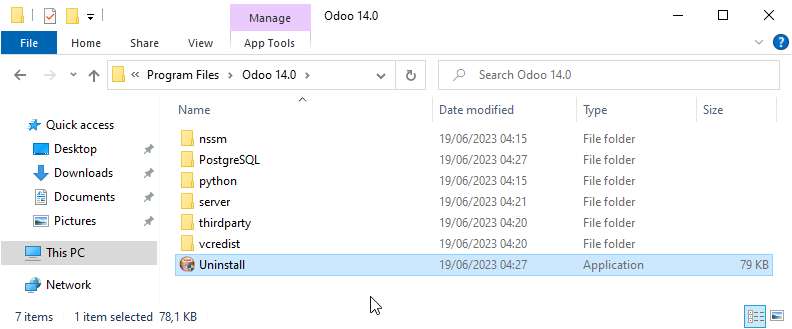
Uninstall NightPOS Community (using the Uninstall executable in the installation folder) - PostgreSQL will remain installed
Launch the NightPOS Enterprise Installer and follow the steps normally. When choosing the installation path, you can set the folder of the Community installation (this folder still contains the PostgreSQL installation). Uncheck
Start NightPOSat the end of the installation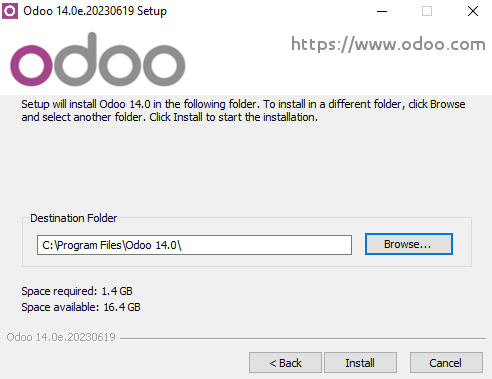
Using a command window, update your NightPOS Database using this command (from the NightPOS installation path, in the server subfolder)
$ ..\python\python.exe odoo-bin -d <database_name> -i web_enterprise --stop-after-init
No need to manually launch the server, the service is running. You should be able to connect to your NightPOS Enterprise instance using your usual mean of identification. You can then link your database with your NightPOS Enterprise Subscription by entering the code you received by e-mail in the form input